Hoe een (zwarte) bezel van een horloge gemaakt wordt?
Tegenwoordig veel keramische bezels maar hoe ging dat vroeger?
Gieten ze iets?
Is het een soort lak of kunstof die gegoten wordt en later hard wordt?
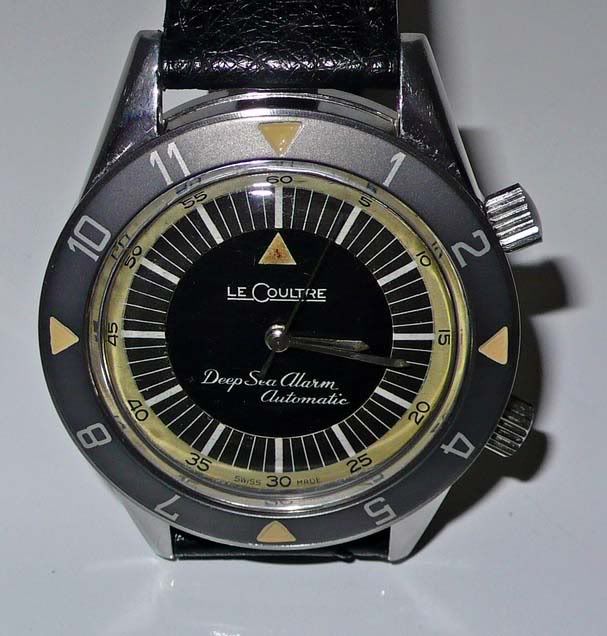
Als voorbeeld voorbeeld … deze hele mooie!
niemand?
Die hingen ze vroeger aan rekken in rook cabines om ze vervolgens na een half uur er zwart verkleurd eruit te halen.
Gewoon met verf of een ander materiaal om het plastic/aluminium kleur te geven?
ja misschien gewoon verf … zou kunnen.
hoe simpel kan het zijn : )
Bakelit misschien wel?
heb dit gevonden …
The key to filling the bezel’s channel is thin layers with at least a day’s time to set. Though careful application is good, any excess can be wiped off the top surface of the bezel with a dab of thinner.
I usually leave enough room in the channel for several layers of clear water-based polyurethane varnish from the local crafts store. It comes in small plastic bottles that are economical. With this, careful application is a must. One needs to avoid air bubbles and coats that are too thick. Thick coats get a “blush”, which is a cloudy appearance. Once blushed, the varnish must be removed. Again, at least a day between layers is recommended. Once the varnish is over the top of the bezel it can be carefully polished down so it is flush. This varnish is quite hard once sured and polished. I have had very favorable results with my modded Seikos.
To level and polish the varnish, I use automotive products—ultra-fine wet/dry abrasive sheets, 320, 400, 600, 1000 grit. Following the abrasives I use a liquid swirl-remover for final polish. This is essentially a wet rubbing compound meant for the last step in finishing a car’s paint job. Although I do these steps on my mini-lathe, hand-working is fine, too. Just be patient. A perfectly flat slat of hard plastic or wood makes a good backer for the abrasive sheets.
By the way, this liquid polish is also good for touching-up acrylic crystals.
Blushing laquer and varnish has been blamed on many things, including excess moisture in the air and micro air bubbles in the hydro-carbon based material. With the water-borne material I’ve been using lately, it is the water itself that gets trapped within the hardening surface and has no way to evaporate. This makes learning patience a high priority exercise
TESTOR’S MODEL ENAMEL should be available world-wide in hobby shops or better craft supplies stores. But be sure to use the regular enamel not the water-borne.
The enamel can be cleaned and thinned with everyday mineral spirits, the varnish is water-borne and the abrasive sheets and buffing liquid should be at a good auto parts or paint supply.
Oh—the brushes are a bit important, too. The enamel should be applied with a natural bristle and the varnish with synthetic. Water-borne finishing materials will swell a natural bristle to the point of its being useless but to smear-on the material.